Back to TheWorxHub for Senior Living Main Menu
Adding an Asset Model
To create a Biomed asset, you will first need to configure risk assessment for your assets, add PM templates, and add an asset model. You will use the asset model to create your assets, so that the data for each of your similar assets is standardized, limiting the risk of faulty or incomplete data.
How to Add an Asset Model
- Click on Assets in the navigation menu and then select New Model.
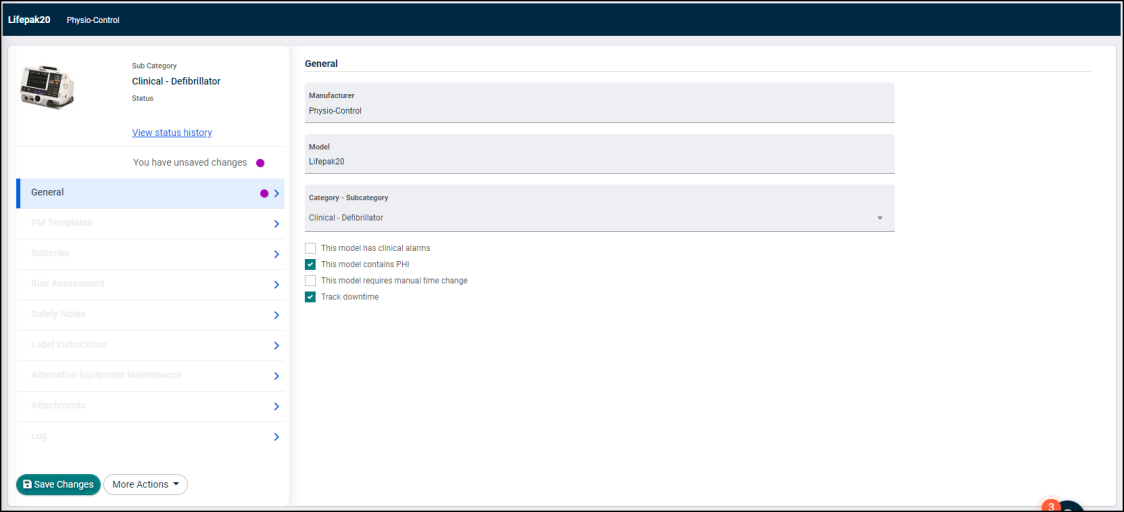
General
The General section allows you to add common information about the model, such as the Manufacturer and Model.
- Enter the name of the Manufacturer.
- Enter the name of the Model.
- Select a Category - Subcategory option from the drop-down menu. Use the search bar to filter the results of the drop-down menu, if necessary.
- Check the box next to This model has clinical alarms if the model has alarms that trigger clinical actions.
- Check the box next to This model contains PHI if the model contains protected health information.
- Check the box next to This model requires manual time change if the model needs to have its time changed manually.
- Check the box next to Track downtime if you would like to track downtime for assets created from the model.
- Click on Add File if you would like to add a photo to the model.
- In the window that appears, click Add File and select either From Computer or From Library.
- Once you have added the desired photo, click Done.
- Click Save Changes. *Note: As you continue to update information on the model, be sure to click Save Changes, or you will lose updated information.
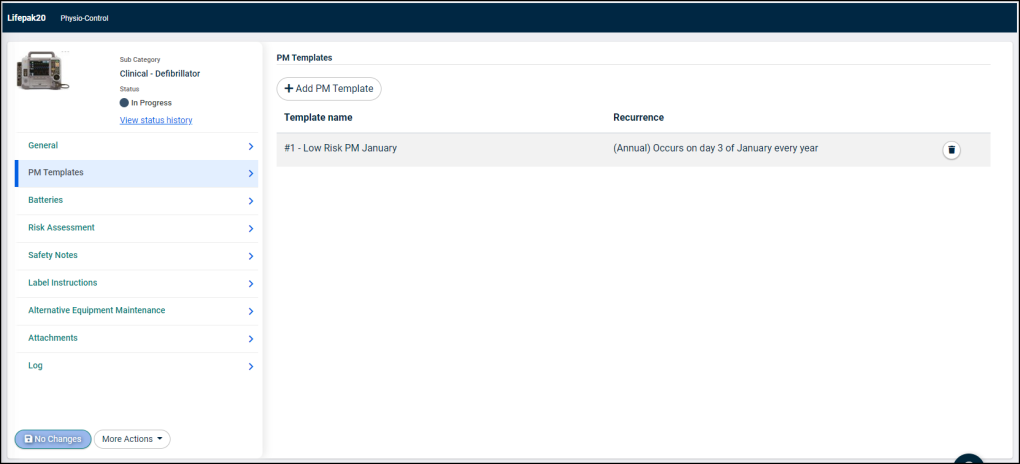
PM Templates
You can add a PM Template that will be added to any assets created from this model.
- Click Add PM Template.
- In the window that appears, click on the PM template(s) that should be applied to the model.
- Click Done. The Template name and Recurrence pattern will display for any selected templates.
- Click Save Changes.
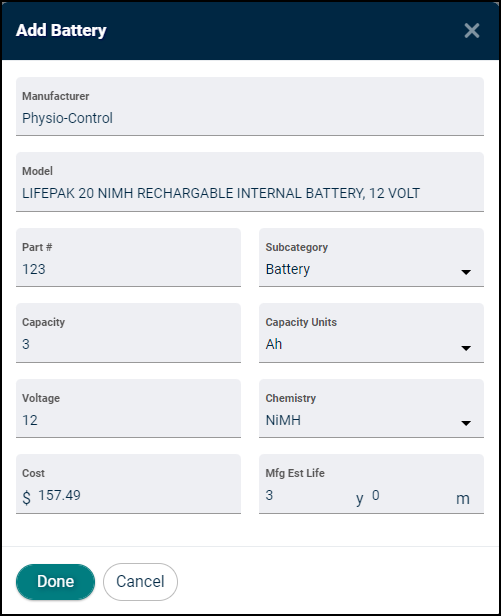
Batteries
You can add any Batteries that should be associated with assets created from this model.
- Click Add Battery.
- Enter the Manufacturer, Model, Part #, Capacity, Voltage, Cost, and Mfg Est Life.
- Select the type of battery from the Subcategory drop-down menu.
- Select the Capacity Units from the drop-down menu.
- Select the type of chemicals used in the battery from the Chemistry drop-down menu.
- Click Done. The battery details will be listed on the asset model.
- Click Save Changes.
Risk Assessment
The Risk Assessment panel allows you to assess the risk of assets created from this model using a scoring system inside of TheWorxHub.
- Select the Score option that most closely matches the asset from the drop-down menu next to each Assessment Criteria.
- You can edit the Description for each Score, if needed.
- The Total Risk Score will calculate automatically at the bottom of the page, and your Assessed Risk for this asset model will display.
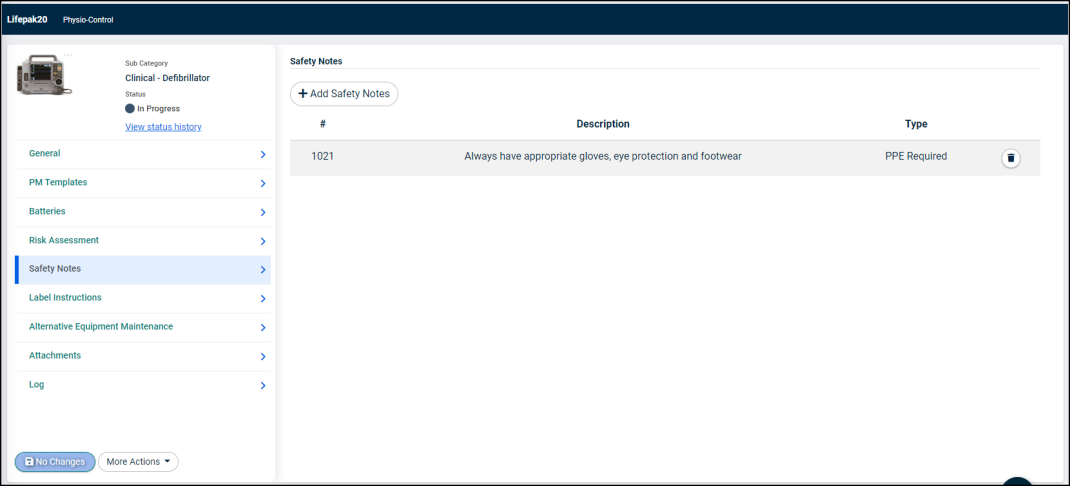
Safety Notes
The Safety Notes panel allows you to define safety notes for each asset created from this model.
- Click Add Safety Notes.
- In the window that appears, check the box next to each safety note that applies to this model.
- Click Done. The Description and Type will display for all safety notes you selected.
- Click Save Changes.
Label Instructions
In Biomed, there could be multiple labels that need to be added or tracked for each asset. The Label Instructions panel allows you to add all labels that should be associated with each asset created from this model.
- Click Add Label.
- You can choose from existing labels that have been uploaded already.
or
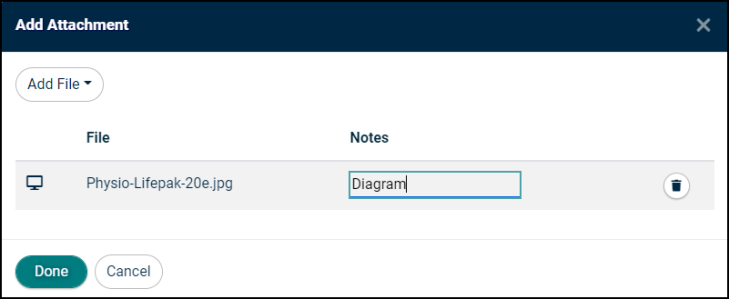
- Click Add Attachment to upload a new label.
- Click Add File and select From Computer, From URL (Web), From Dropbox, or From Library, depending on your needs.
- Select the file from the source you selected.
- Enter any relevant Notes about the label.
- Click Done.
- Once you have selected all necessary labels, click Done.
- Click Save Changes.
Alternative Equipment Maintenance
The Alternative Equipment Maintenance panel allows you to define assets created from this model as part of an alternative maintenance program. We recommend entering as much information as you can into the fields on this panel.
- In AEM Program: Check this box if all assets created from this model should be part of an alternative maintenance program.
- Mfg Instructions Available: Check this box if the instructions from the manufacturer are available for reference.
- AEM Start Date: The date will initially default to today's date, but can be changed if necessary.
- Qualified Personnel: Select the user to make decisions about alternative equipment maintenance from the drop-down menu.
- Maintenance Frequency: Enter the frequency that maintenance should be performed. *Note: This should be the new frequency for maintenance, not the frequency recommended by the manufacturer.
- Describe Qualifications of AEM Decision Maker?: Enter the qualifications of the user specified in the Qualified Personnel field.
- How was Maintenance Modified?: Enter the ways in which maintenance for assets created from this model will differ from standard maintenance practice.
- How will you Evaluate?: Enter the methods that will be used to evaluate successful maintenance for assets created from this model.
- Click Save Changes.
Attachments
The Attachments panel is a useful way to provide any attachments that should be present on assets created from this model. A great example for how to use this would be to attach the manual for this model, so that each asset created has a copy of the manual already attached.
If you would like to provide technical documentation for your asset models, you can use IFIXIT and add a "From URL" attachment to provide a direct link to the manual for this model.
- Click Add Attachment.
- Click Add File and select From Computer, From URL (Web), From Dropbox, or From Library, depending on your needs.
- Select the file from the source you selected.
- Enter any relevant Notes about the label.
- Click Save Attachments.
- If you upload an image of the model, you can click on the menu icon and select Set as Profile Photo to make that image the profile picture for assets created from the model.
- Click Save Changes.
Submitting the Asset Model
Once you have made all changes to the model, it must be approved before you can create assets from it.
- Click More at the bottom of your model and select Submit.
- Enter any Notes about the model.
- Click Confirm.
